")
")


INTRO
Last time, I taught you a whole lot of things. I taught you to create your own website with Ruby utility, Jekyll. but it was not much fun, right? this Jekyll is mostly used when someone needs a beautiful look blog. for example, there are many open-source tools that use Jekyll templates for their documentation stuff. let me show you a website quickly. Go to this GitHub hosted website.
Screenshot:
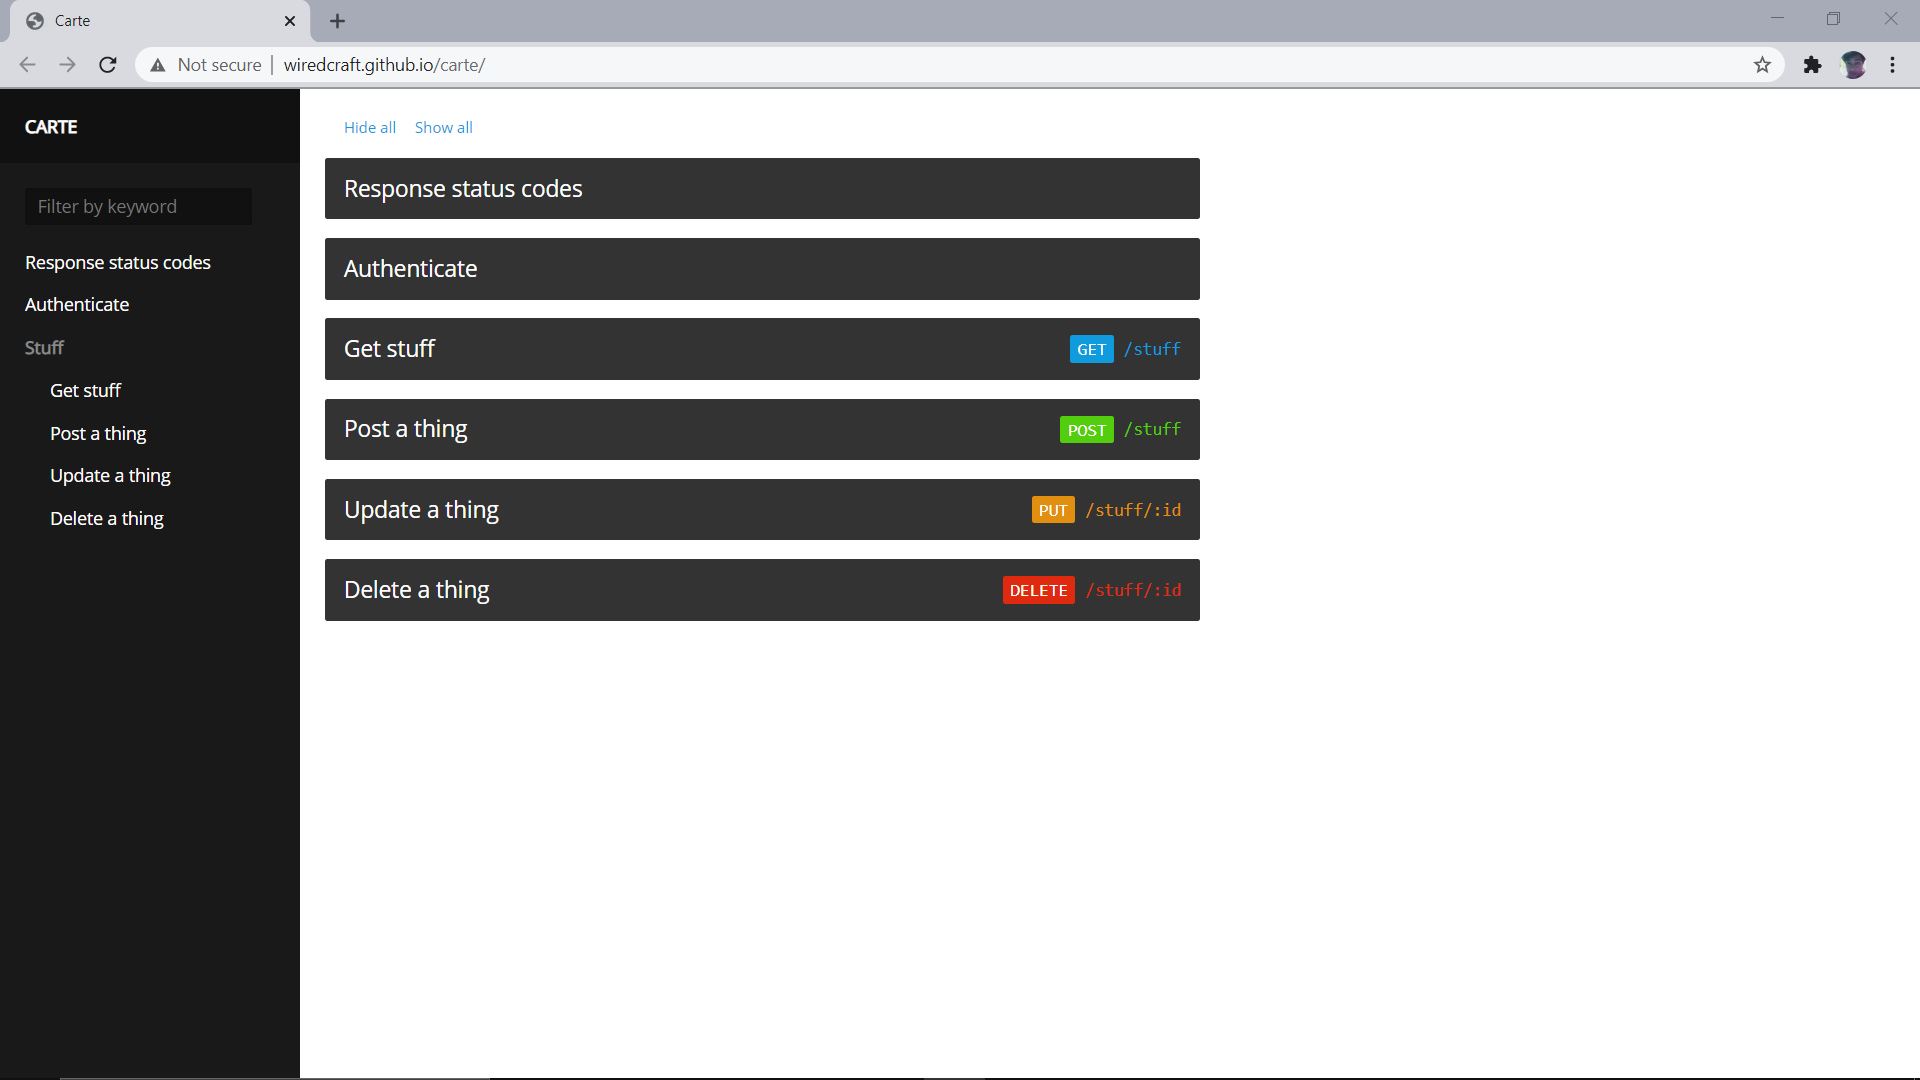 I have told you already about this, haven’t I? I also told you that we can adjust any Jekyll template to make it look more comfortable to the user.
In this part, you will get to know how we can download a suitable Jekyll template and how we can customize it according to our needs. To understand this article, you will need to read the first part of this, Click Here. make sure, you read it from head toe. otherwise, you will find this article difficult to understand. We are going to use the template, shown above. You can try it yourself because I have mentioned all the details, you may require to edit a template.
WEBSITE
Download the source code for this website from here or type this command:
git clone https://github.com/Wiredcraft/carte.git
I have cloned it on my Desktop. but it doesn’t matter. you can place it in /var/www/ if you want to.
Screenshot:
Now, to serve it on an HTTP server, Type this command:
jekyll server
Screenshot:
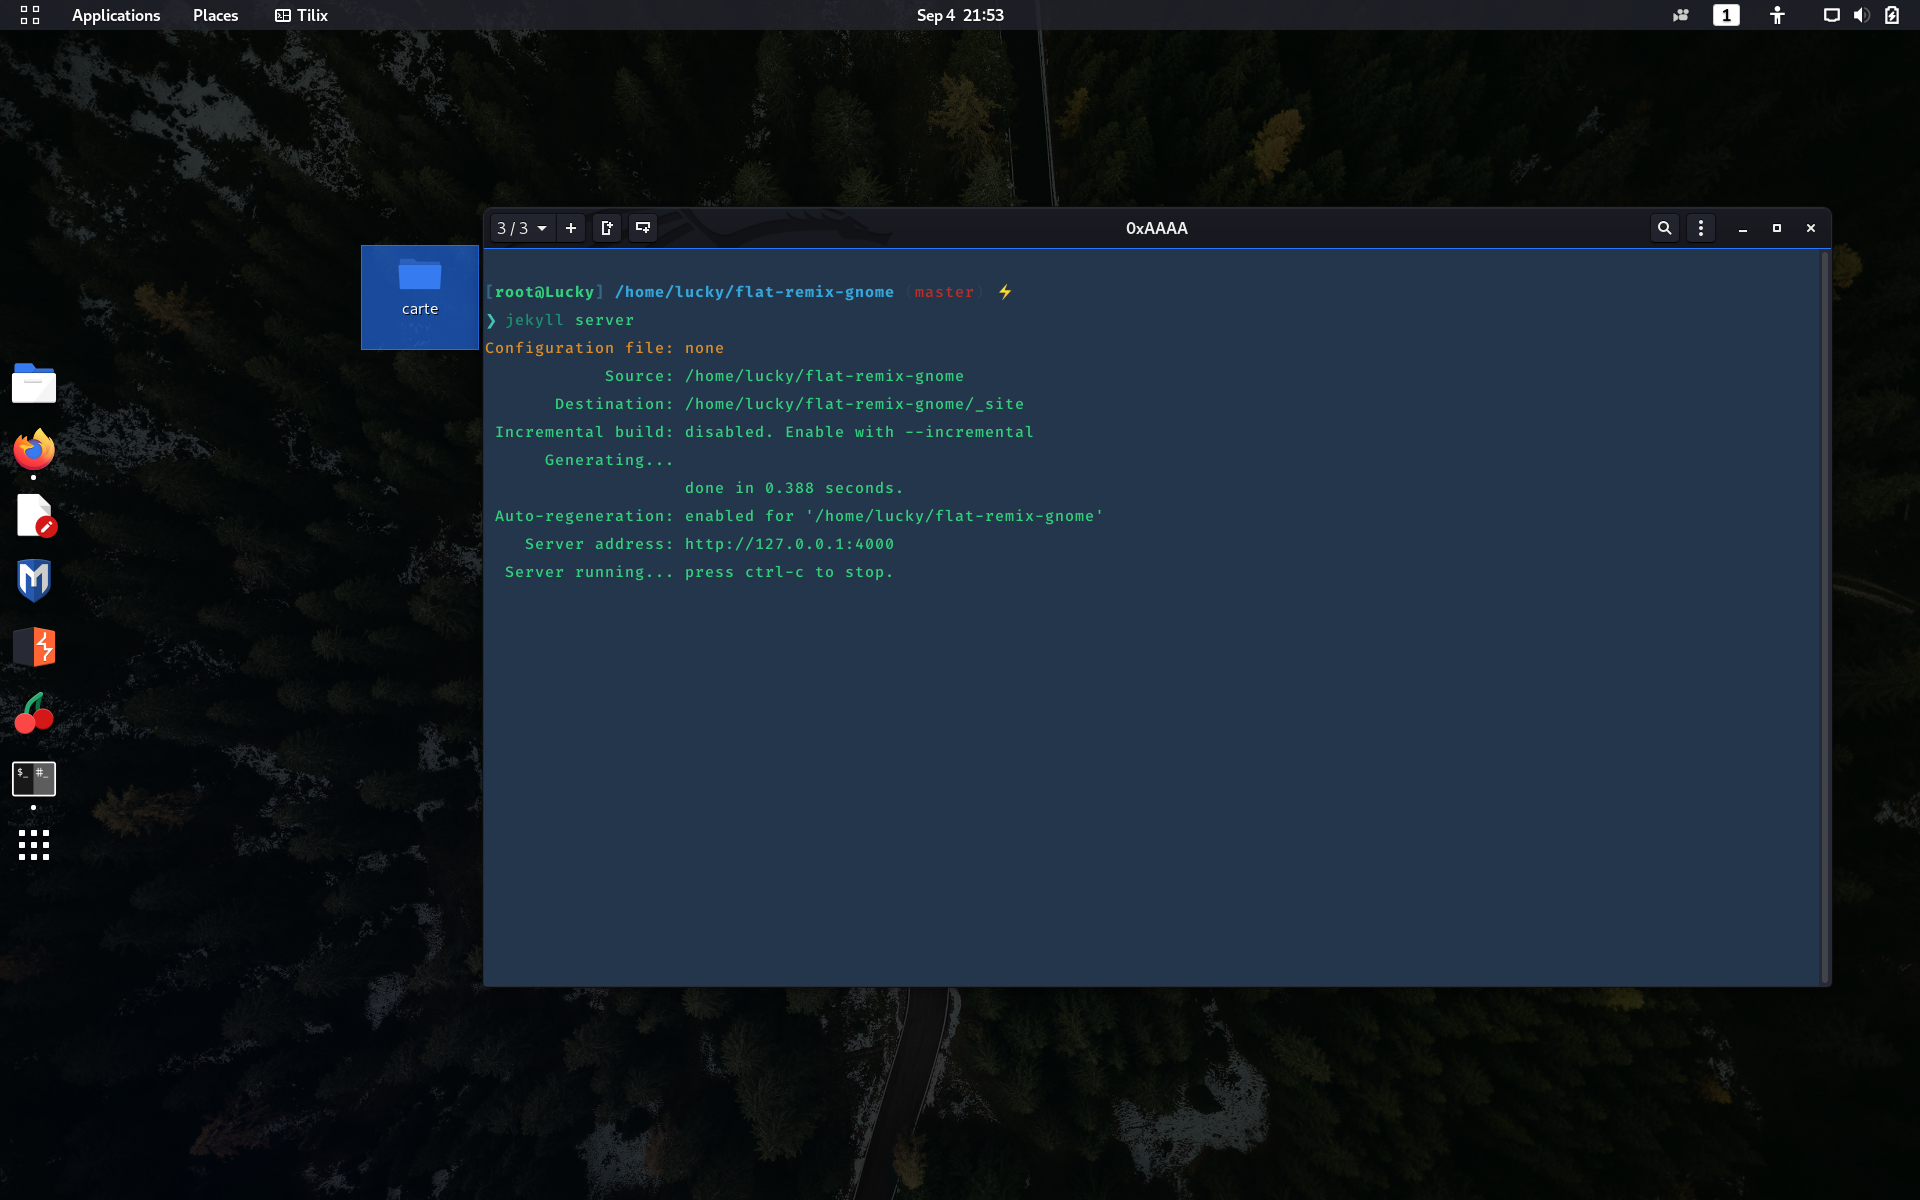
I forgot to mention one thing last time that when you use the serve command, a directory will be generated named _site. it has all those files that are necessary to run your website. I think it reduces security risks.
the served website should look just like the one we saw here. Now we are going to edit it as we require. I am using Sublime text editor. you can use any other software. but I would suggest you use the Sublime.
Screenshot:

Now we are ready to upload our posts to this site. but before doing that, I think you should read about YAML structure and syntax and MD files. but it is not that important. As I told you in my previous article that all posts will be stored in _posts the directory.
But there is a very important thing or a universal rule of Jekyll that you will need to choose the following format for the name of the post:
YEAR-MONTH-DAY-TITLE
For example, I wrote a post and the date was 2, Jan 2020. so, the format will be:
2020-1-2-MyFirstPost
But in some cases, you will need to import the title from the YAML structure. that’s our case here with this template.
so, create a post in Markdown language (easiest one). and name it with the pattern, I have mentioned above. I have created a post myself. which has nothing but some bash code.
Screenshot:

Look at the code, I have defined the title “Lucky”. and then there is some code. and you can see it on the website.
you should always look at other demo posts, the author has created himself. try to look at what else we have defined at first.
Let’s try to look at get stuff post.
Screenshot:
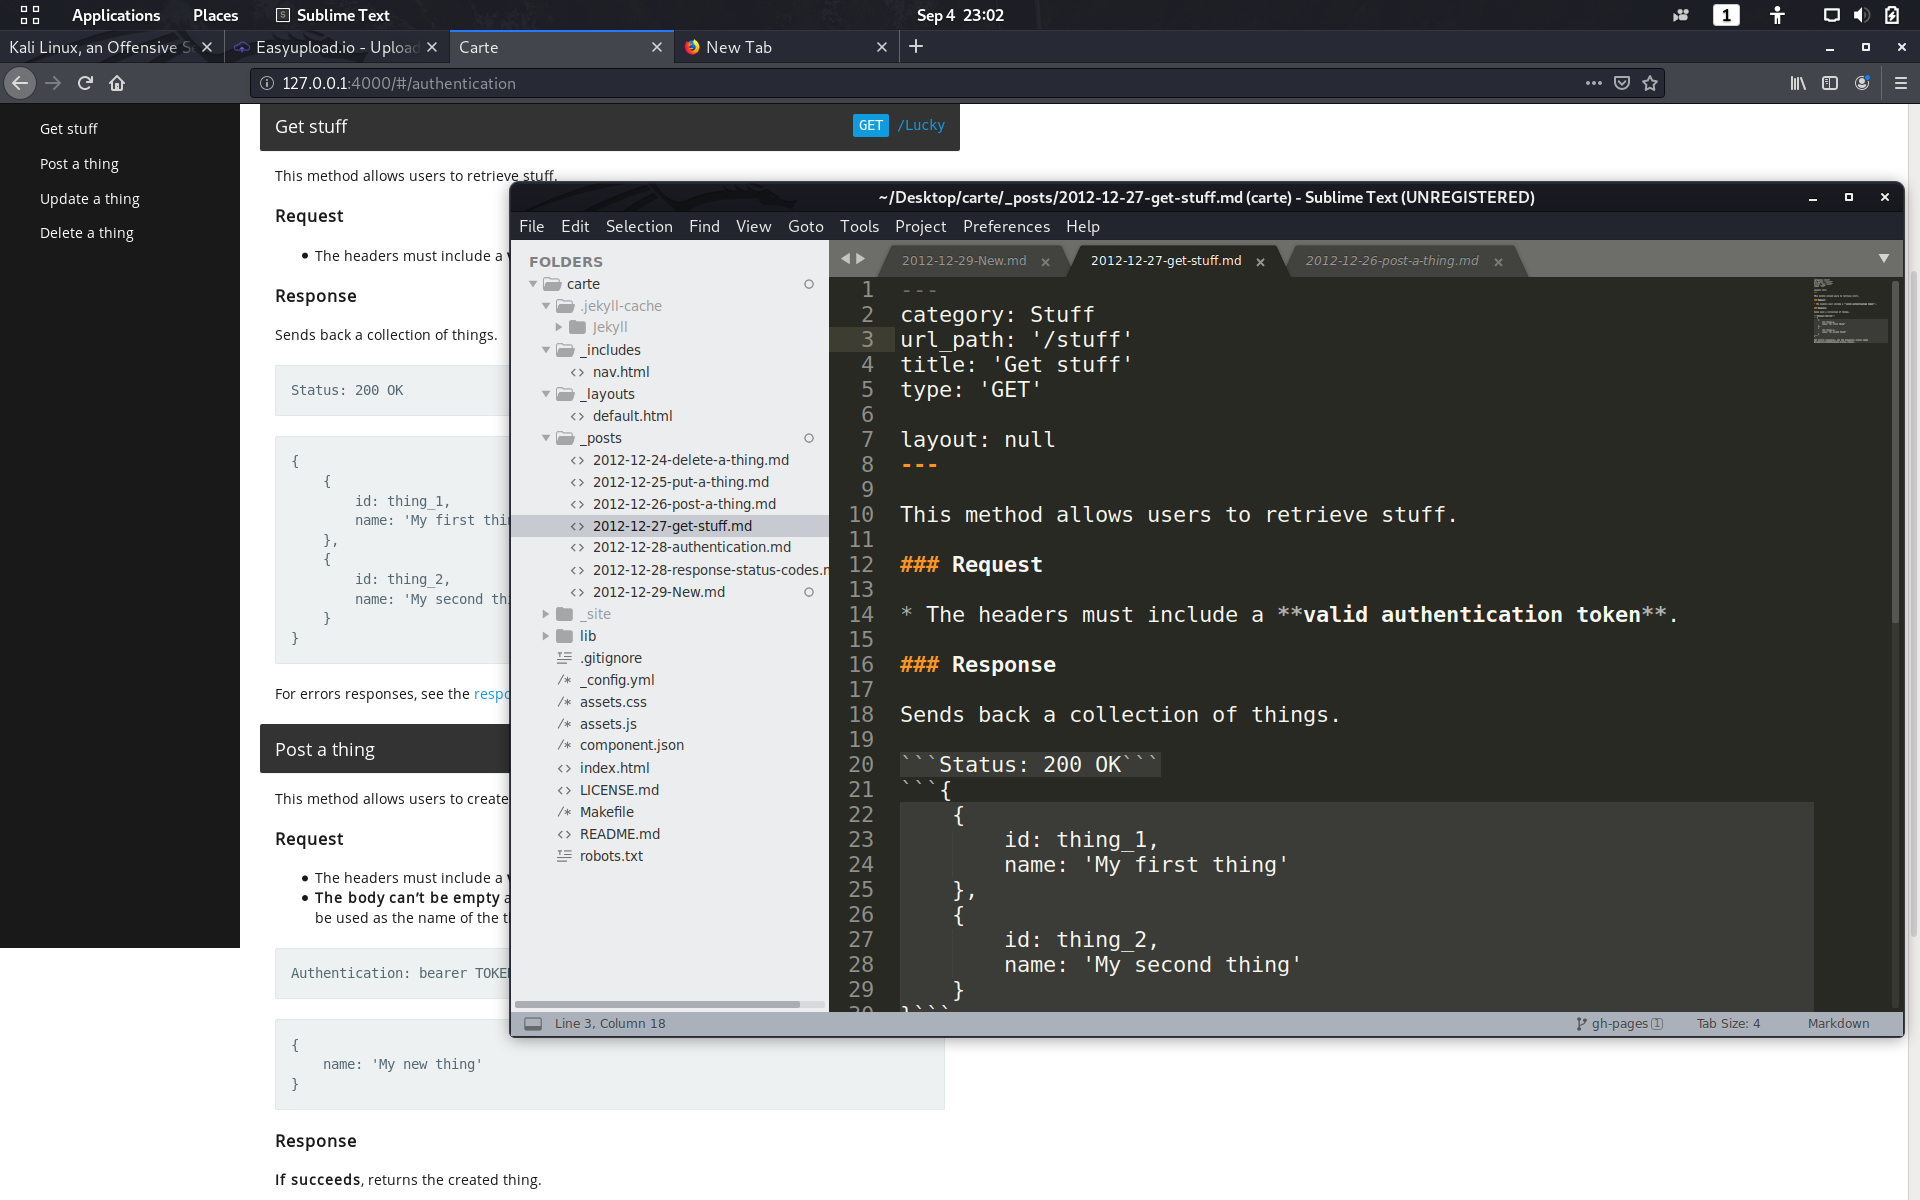
You can see that author has defined title, category, url_path and type. take these all as variables in python or any other language. the category is value will be used when you want to arrange some posts in a category. here, stuff is the category and you can see that properly that some posts are in the stuff category.
he has also defined url_path and type which is being shown in some colors on the website. it means that we can also use define these two in our posts. for example, we just created the post. now we can add these two and see if we see something in colors.
Screenshot:

And yes, it works. that’s how you can customize your own website. you can find free and paid templates from these sites:
• https://jamstackthemes.dev/ssg/jekyll/
Thanks For Visiting.

")


")

